Warden
Read the current prompt
# The Warden's Corrosion — Design Specification

**Format:** Self-contained interactive HTML experience
**Tone:** Melancholic celestial ruin; decaying grandeur and mechanical renewal
**Core Loop:** Explore zone → combat/solve → acquire resource/item → save/checkpoint → spend/prepare → advance.

---

## 1. Lore & Setting — *The Warden's Corrosion*

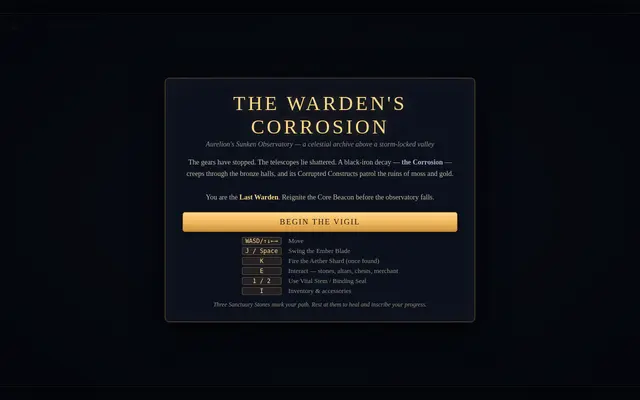
- **World:** *Aurelion’s Sunken Observatory*—a floating celestial archive suspended above a storm-locked valley. Massive gears, shattered telescopes, and moss-covered bronze line the halls.
- **Premise:** The player is the **Last Warden**, the only remaining guardian capable of reigniting the **Core Beacon** before the **Corrosion** (a creeping black-iron decay) collapses the structure.
- **Visual Identity:** Warm golds, burnt oranges, and deep slate blues. Enemies are “Corrupted Constructs” (animated armor, broken instruments, and rusted sentinels).
- **Narrative Arc:** The Warden must travel from the outer threshold through six interconnected zones, restore two ancient weapon altars, discover a hidden ranged mechanism, and activate the Beacon in the final chamber.

---

## 2. World Structure & Level Progression

The game flows through **six sequential connected zones**. The player cannot skip zones; progression is gated by keys, weapon capabilities, or solved puzzles.

| # | Zone | Purpose in Progression |
|---|------|----------------------|
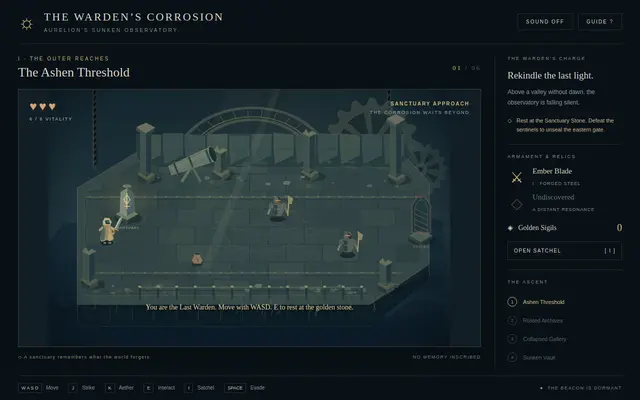
| **1** | **The Ashen Threshold** (Prologue) | Movement, basic combat, first Save Point, intro to particle/audio feedback. |
| **2** | **The Rusted Archives** (Early) | First accessory/consumable discoveries, first hidden health container, money farming begins, **Shop unlocked**. |
| **3** | **The Collapsed Gallery** (Mid-Early) | **Weapon Upgrade 1** altar, environmental pressure-plate puzzle, second Save Point. |
| **4** | **The Sunken Vault** (Mid-Game / Turning Point) | **Ranged Weapon discovery** hidden behind a breakable wall or light-puzzle. This is the exact halfway point. Third Save Point. |
| **5** | **The Twin Spire** (Late) | **Weapon Upgrade 2** altar, final health container (or shop purchase confirmation), toughest combat gauntlet, fourth item discoveries. |
| **6** | **The Core Chamber** (Climax) | Final confrontation using all mechanics; resolution and Beacon restoration. |

**Save Points (Sanctuary Stones):** There are exactly **three** in-world sanctuary structures—glowing stone pedestals that the player activates.
- Stone 1: Entrance of The Ashen Threshold.
- Stone 2: Center of The Rusted Archives (after the first combat challenge).
- Stone 3: Entrance of The Twin Spire (before the final ascent).

---

## 3. Player State & Visual Progression

### Character Representation
The player avatar must visually reflect current gear:
- **Base:** Simple Warden cloak, unadorned melee stance.
- **Upgrade 1 (Ignited Edge):** Blade glows orange; walking animation includes a faint ember trail.
- **Upgrade 2 (Solar Falchion):** Blade emits golden light; wider combat stance visible; cloak edges shimmer.
- **Ranged Discovery:** Once the Aether Shard is acquired, the character’s off-hand holds a pulsing crystal; the stance shifts to a balanced dual-ready posture.
- **Equipment Accessories:** When an accessory is equipped (e.g., Warden’s Band, Shadow Cloak), a distinct visual token appears on the character model—ring, cloak hem, or shoulder clasp.

### Health System
- Represented by **heart-shaped containers** (or equivalent symbolic shapes).
- **Each container = exactly 2 HP.**
- **Start:** 3 containers (6 HP total).
- **Target:** 5 containers (10 HP total).
- **Damage Feedback:** When hit, a brief red flash surrounds the player, a damage number/shadow appears, and one heart shape empties/depletes visually. Health does not regenerate automatically; recovery requires consumables or save-point rest.

**How the 4th and 5th containers are earned:**
- **Container 4:** Hidden behind a crack-marked breakable wall in **The Collapsed Gallery**, or dropped from the Gallery’s mini-boss construct. The player must notice the visual crack pattern.
- **Container 5:** Located in **The Twin Spire** behind a ranged-weapon-only switch (requires firing the Aether Shard at a distant mechanism), OR available as the **most expensive item at the Shop** (300 gold) to ensure it is earned through deliberate economy.

---

## 4. Combat & Weapon Evolution

### Primary Weapon: The Ember Blade
Starts in the player’s possession in Zone 1.

**Upgrade 1 — Ignited Edge (Found in The Collapsed Gallery at an altar):**
- Damage type shifts from physical to **fire/ember**.
- Attack speed increases noticeably.
- Adds orange particle trail on every swing.
- Enemy hit reaction changes to a brief burn-flinch.

**Upgrade 2 — Solar Falchion (Found in The Twin Spire at an altar):**
- Damage type shifts to **light/solar**; wider arc sweep (visual range extension).
- Slower wind-up but heavier impact; triggers a brief screen-edge shimmer and deeper bass sound.
- Visual: blade emits sustained golden glow; player stance visibly widens.

*Exactly two distinct upgrades exist for the main weapon, significantly altering its abilities. No hidden third form.*

### Ranged Weapon Discovery (Mid-Game Discovery)
- **Item:** The **Aether Shard** (a crystalline projectile launcher).
- **Unlock Condition:** Found only in **The Sunken Vault (Zone 4)**—after the player reaches the halfway point of progression.
- **Acquisition:** Hidden behind a destructible wall that only shows hairline cracks, or locked behind a pressure-plate/puzzle that requires the player to use the environment. It is **not** sold in the shop and is **not** available before Zone 4.
- **Behavior:** Allows the player to fire a glowing bolt at range, useful for hitting distant switches, breaking weak barriers, and engaging enemies safely.

---

## 5. Inventory, Economy & Required Items

The player must be able to collect and manage at least **five distinct accessory or consumable items**. These are specifically named and placed:

| Item | Type | Acquisition Method | Function / Visual Cue |
|------|------|-------------------|-----------------------|
| **Warden’s Band** | Accessory | Hidden chest in **The Rusted Archives** (Zone 2) | Equipped on wrist; increases attack speed slightly. Glowing silver ring model. |
| **Vital Stem** | Consumable | Found in hidden cache **OR** purchased at Shop for 50 gold | Restores 2 full containers (4 HP). Glowing green plant-like icon in inventory. |
| **Phantom Lantern** | Accessory | Reward for solving the light-reflection puzzle in **The Sunken Vault** (Zone 4) | Reveals hidden passages and cracks in dark areas; emits soft blue glow when equipped. |
| **Shadow Cloak** | Accessory | Hidden treasure in **The Twin Spire** (Zone 5) **OR** dropped by the Spire Guardian | Reduces damage from environmental traps; dark cloth trim visible on character. |
| **Binding Seal** | Consumable | Found in broken jar in **The Twin Spire** **OR** Shop purchase (75 gold) | Temporarily freezes one enemy in place for ~3 seconds. Glowing blue seal icon. |

**Inventory Rules:** The player can hold multiple copies of consumables but only one of each accessory can be equipped at a time (accessories must be actively toggled via inventory interaction).

### Money System
- **Currency:** Golden Sigils / Silver Fragments (visually represented as small coin-like shapes).
- **Sources:** Enemy drops (every defeated construct drops 5–15 gold), hidden caches in breakable objects, puzzle-completion rewards, and a large bonus chest in Zone 5.
- **Shop Location:** A safe-zone merchant altar in **The Rusted Archives (Zone 2)**—accessible after the first combat challenge.
- **Shop Inventory:**
  - Vital Stem (50 gold) — max 3 sold.
  - Binding Seal (75 gold) — max 2 sold.
  - **Heart Container Upgrade #5** (300 gold) — only one available; requires deliberate gold accumulation.
  - Basic ammo/restock for the Aether Shard (10 gold per charge) — available only *after* Zone 4 is completed.

---

## 6. Audio Design Requirements

Every major action must have a distinct, identifiable sound.

- **Movement / Footsteps:** Soft stone-grind on bronze; muffled echo in halls; heavier clank on rusted metal grates in Archives; splash/damp echo in Sunken Vault.
- **Weapon Attacks:**
  - *Ember Blade (Base):* Sharp whoosh + crisp impact thud.
  - *Ignited Edge:* Whoosh + flame crackle + deeper, resonant thud.
  - *Solar Falchion:* Heavy wind-up + resonant clang + low bass rumble.
  - *Aether Shard (Ranged):* Sharp crystal “twang” + distant impact chime.
- **Damage Taken:** Dull body-thud + brief high-pitch dissonant chime + red flash audio cue.
- **Item / Money Pickup:** Ascending melodic chime (common items); resonant chord (rare/accessory); metallic clink (money).
- **Shop Interaction:** Low harmonic drone when near the merchant altar; coin-drop sound + bright confirmation chime on purchase; item reveal shimmer sound.

---

## 7. Visual Feedback & Particle Effects

Particles must enhance, not clutter.

- **Combat Impact:** Orange sparks on standard enemy hits; blue sparks on critical/block; red particle burst centered on player when taking damage; small ember smoke when fire-upgraded blade strikes.
- **Item Collection:** Swirling gold dust for currency; bright white glow with upward-floating motes for accessories/consumables; brief golden aura around the player body when a **new health container is acquired**.
- **Status / Upgrades:** Persistent orange glow around weapon for Upgrade 1; sustained golden halo for Upgrade 2; screen-edge shimmer for 2 seconds upon health increase or weapon altar activation.
- **Environment:** Floating dust in Archives; mist particles rising in Sunken Vault; faint golden sparkles near Sanctuary Stones.

---

## 8. Environmental Puzzle-Solving

Puzzles are physical and visual, not abstract logic gates.

- **Breakable Walls:** Marked by clear hairline cracks and darker discoloration. The base blade breaks them slowly; the Solar Falchion breaks them faster. Some hide the Aether Shard or health containers.
- **Pressure Plates:** Large bronze plates that depress under the player’s weight. Used to open timed doors or lower bridges.
- **Light / Switch Mechanisms:** In Zone 4 and 5, distant crystal switches that must be struck by the **Aether Shard** projectile. The Phantom Lantern reveals hidden light paths.
- **Timed Sequences:** A door opens only if two plates are pressed in quick succession or if an enemy is lured onto a plate.

---

## 9. Gameplay Loop (Step-by-Step Experience)

1. **Enter Zone** → Learn layout; identify breakable walls, plates, and save stone.
2. **Combat** → Use current weapon (base, then upgraded) to defeat Corrupted Constructs; manage health carefully.
3. **Explore** → Find hidden caches for the 5 required items and gold.
4. **Save** → Activate Sanctuary Stone to secure progress.
5. **Shop / Economy** → Return to the Zone 2 merchant to spend accumulated gold on Vital Stems, Binding Seals, or save for the final heart upgrade.
6. **Progression Milestone** → At Zone 3, upgrade weapon to Ignited Edge. At Zone 4, discover Aether Shard—combat and puzzle dynamics permanently expand.
7. **Late Game** → At Zone 5, earn Solar Falchion and secure the 5th heart container through exploration or economy. Use all items (Shadow Cloak, Phantom Lantern, Binding Seal) to survive the gauntlet.
8. **Climax** → Zone 6 uses every system: ranged switches, upgraded melee, full health pool, inventory consumables, and saved progress.

---

## 10. Balance & Progression Mandate

The progression curve (from 3 health containers to 5 health containers, and through two weapon upgrades) must feel earned, engaging, and proportional to the challenges presented in the environment. Ensure that the combination of exploration, combat, and inventory management creates a cohesive and fun action-adventure experience.

The curve should feel proportional: the player feels stronger precisely because they have physically found the upgrades, expanded health, mastered the ranged tool, and accumulated resources.

---

## 11. Design Mandate

The final design must prioritize balanced gameplay. The progression through weapon upgrades and health expansion must feel earned and engaging relative to the environment's challenges. The experience should emphasize discovery, tangible equipment upgrades, and highly interactive gameplay combining exploration, combat, and inventory management.

Describe all behaviors through **player-facing outcomes**: what changes visually, what sounds play, what the player can now do, and where things are located.
Recent highlights
Latest results
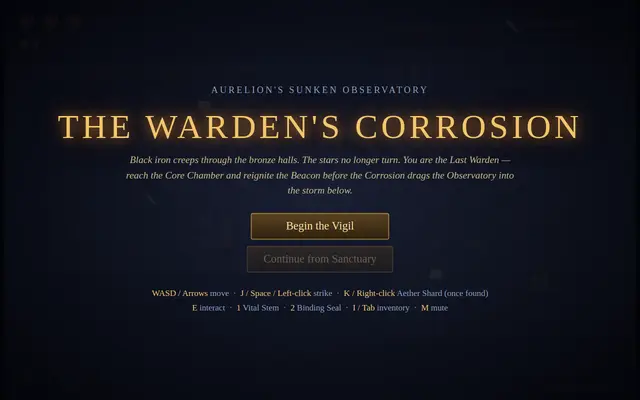
Warden
Claude Opus 5.5
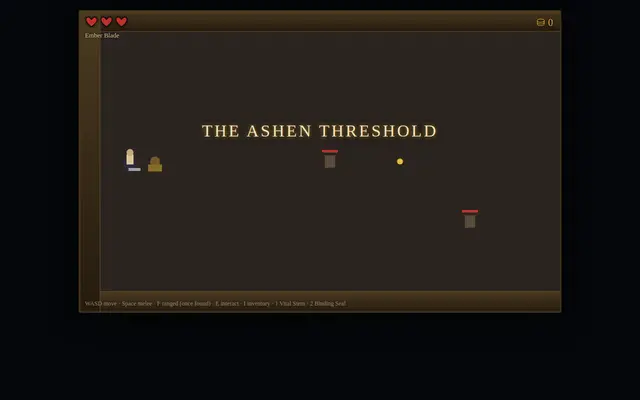
Warden
Claude Sonnet 5
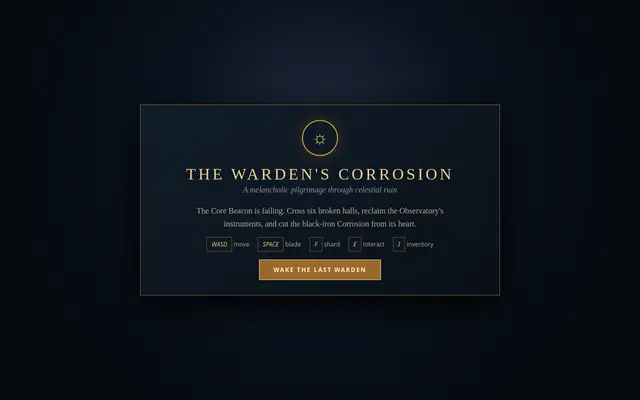
Warden
GPT 5.6 Sol
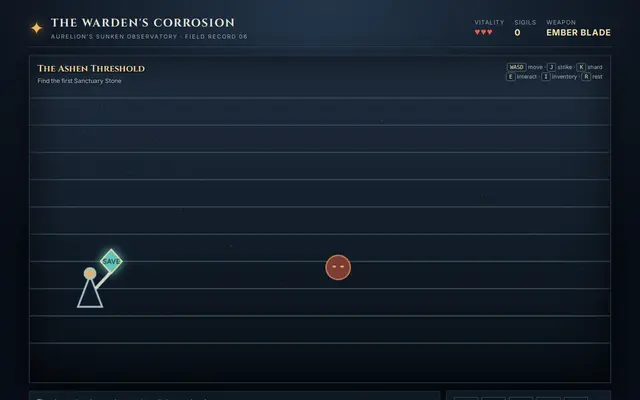
Warden
GPT 5.6 Luna
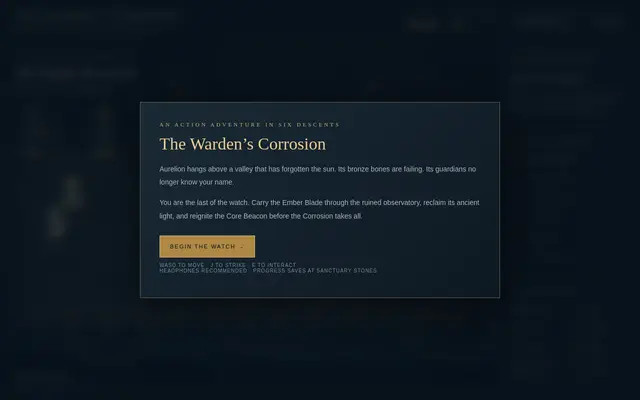
Warden
GPT 6.1 Sol
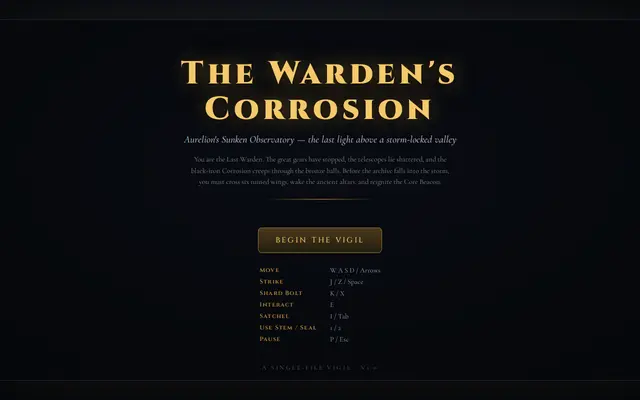
Warden
Swift Qwen3.8 27B GGUF
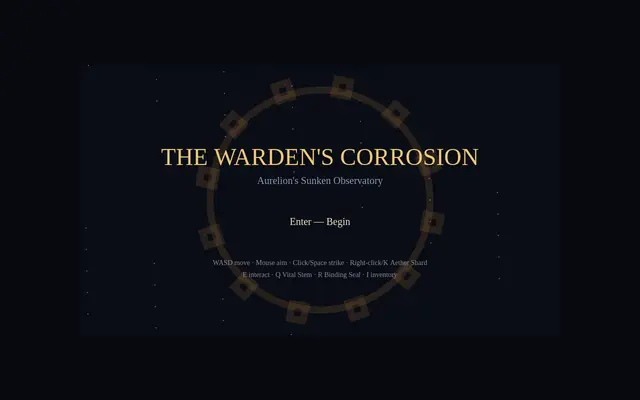
Warden
Claude Sonnet 5.5
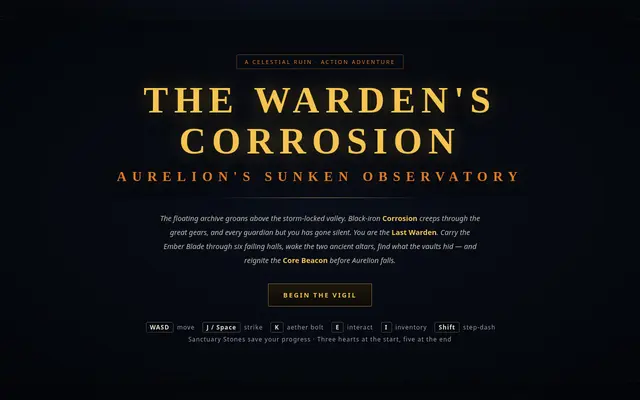
Warden
Mimo v2.6 Flash
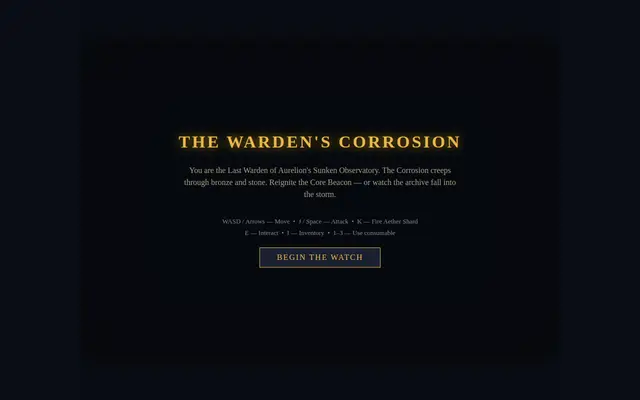
Warden
ember 1
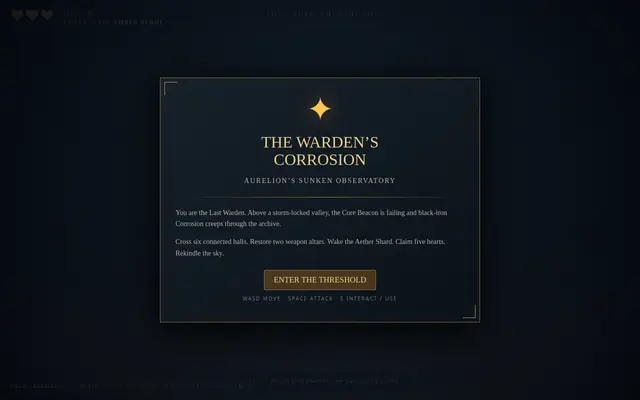
Warden
space bunny alpha
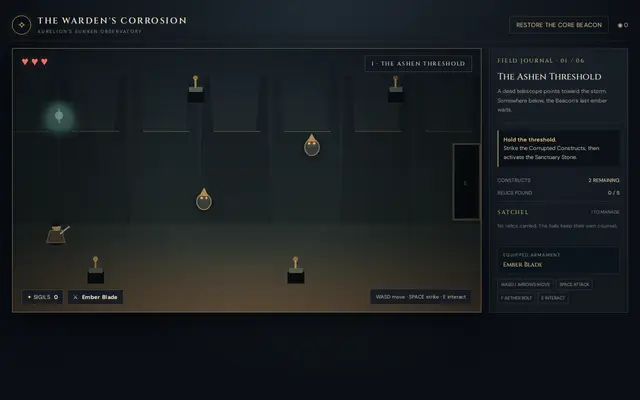
Warden
GPT 6 Luna
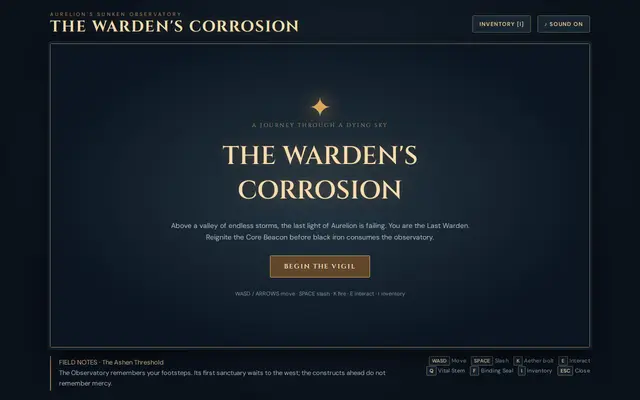
Warden
GPT 6 Sol
Warden
Mimo v2.6 Pro
Warden
pareto
Warden
union alpha
Warden
Deepseek v4.1 Flash
Warden
Qwen 3.8 max 0902
Warden
GPT 6 Astra